In this tutorial, we will see how to install & setup nextui 2v in next js 13. There is two way you can use nextui 2v in next 13. You can use nextui with next 13 template. or you can manual Installation nextui 2v in next js 13.
1. Install NextUI 2v by Template
Run below command to create nextui 2 project with next js 13. The good thing you don't need to change or add any configuration.
// npm
npx create-next-app -e https://github.com/nextui-org/next-app-template
// yarn
yarn create next-app -e https://github.com/nextui-org/next-app-template
// pnpm
pnpm create next-app -e https://github.com/nextui-org/next-app-template
Install dependencies and Run the development server
npm install
npm run dev
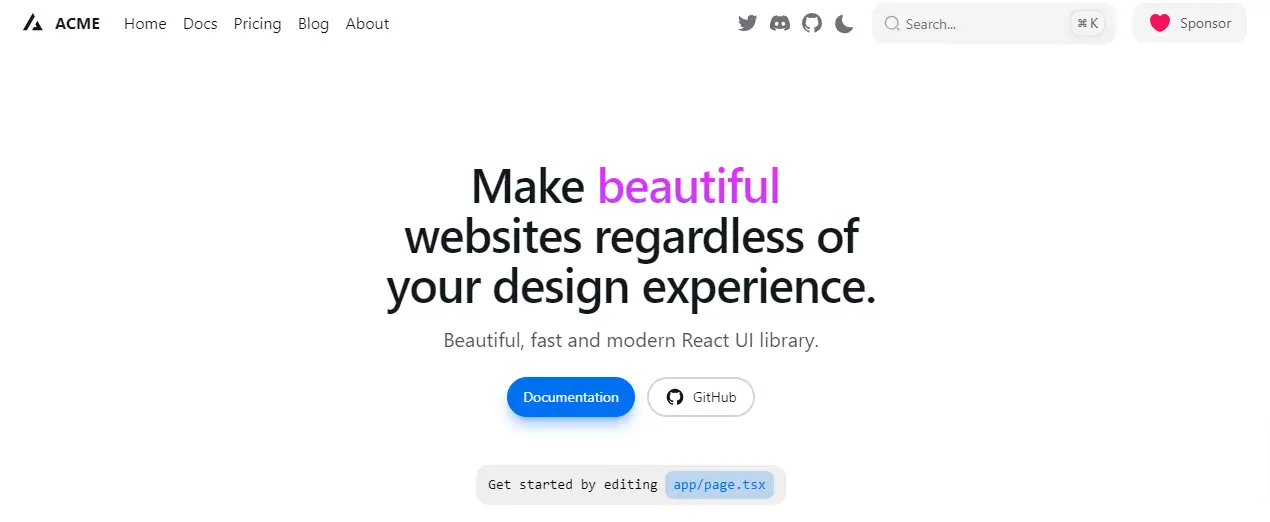
nextui 2 in next js 13
2. Manual Installation NextUI 2v in Next 13
Use create-next-app, which sets up everything automatically for you. To create a project, run.
npx create-next-app@latest
On installation, you'll see the following prompts:
What is your project named? my-app
Would you like to use TypeScript? No / Yes
Would you like to use ESLint? No / Yes
Would you like to use Tailwind CSS? No / Yes
Would you like to use `src/` directory? No / Yes
Would you like to use App Router? (recommended) No / Yes
Would you like to customize the default import alias? No / Yes
What import alias would you like configured? @/*
In your Next.js project, run one of the following command to install NextUI:
// npm
npm i @nextui-org/react framer-motion
// yarn
yarn add @nextui-org/react framer-motion
// pnpm
pnpm add @nextui-org/react framer-motion
Tailwind CSS Setup
Add nextui in tailwind.config.js.
// tailwind.config.js
import {nextui} from "@nextui-org/react";

/** @type {import('tailwindcss').Config} */
const config = {
 content: [
  // ...
  "./node_modules/@nextui-org/theme/dist/**/*.{js,ts,jsx,tsx}"
 ],
 theme: {
  extend: {},
 },
 darkMode: "class",
 plugins: [nextui()]
}

export default config;
Setup Provider
Go to your app/providers.tsx or app/providers.jsx (create it if it doesn't exist) and wrap the Component with the NextUIProvider.
// app/providers.tsx
'use client'

import {NextUIProvider} from '@nextui-org/react'

export function Providers({children}: { children: React.ReactNode }) {
 return (
  <NextUIProvider>
   {children}
  </NextUIProvider>
 )
}
Add Provider to Root
Now, Go to your root layout page and wrap it with the NextUIProvider.
// app/layout.tsx
import {Providers} from "./providers";

export default function RootLayout({children}: { children: React.ReactNode }) {
 return (
  <html lang="en" className='dark'>
   <body>
    <Providers>
     {children}
    </Providers>
   </body>
  </html>
 );
}
Use NextUI Components
Now you can import any NextUI component directly in your Server Components without needing to use the use client; directive.
// app/page.tsx
import { Button } from "@nextui-org/button";

export default function App() {
  return (
    <div className="flex flex-wrap gap-4 items-center">
      <Button color="default">
        Default
      </Button>
      <Button color="primary">
        Primary
      </Button>
      <Button color="secondary">
        Secondary
      </Button>
      <Button color="success">
        Success
      </Button>
      <Button color="warning">
        Warning
      </Button>
      <Button color="danger">
        Danger
      </Button>
    </div>
  );
}

next 13 with nextui button component